I wanted to blog about a subject that's come up in a number of converations recently- that is the idea of spicing up web reports spit out by scripts by making use of UI frameworks (which are generally free but may also have paid options if things get serious!). Like many examiners, I had some familiarity with web development but hadn't necessarily kept up with the trends over the years. It wasn't until fairly recently that I finally invested the time in learning to build using Bootstrap, and I haven't looked back.
While I still do prefer to write most of my HTML by hand in Notepad++, I discovered a profoundly easy to learn thing - UI frameworks. By simply adding in a couple of these resources into your project - we're going to look at Bootstrap and FontAwesome today - you can really make your reports stand out with very little effort. Users genuinely appreciate the time you take to include things like icons, and thanks to FontAwesome this can be a very easy thing to do.
Import Bootstrap + Dependencies
First things first, you need to bring in Bootstrap. If you're okay with having an internet requirement for your report, you can use a CDN (Content Delivery Network). For simplicity, we'll use this approach today. If you want it to work offline, you'll need to download the frameworks including dependencies.
In the <head> section of your webpage, add the following:
<!-- Bootstrap core CSS -->
    <link href="https://stackpath.bootstrapcdn.com/bootstrap/4.4.1/css/bootstrap.min.css" rel="stylesheet" integrity="sha384-Vkoo8x4CGsO3+Hhxv8T/Q5PaXtkKtu6ug5TOeNV6gBiFeWPGFN9MuhOf23Q9Ifjh" crossorigin="anonymous">
    <link rel="stylesheet" href="https://cdnjs.cloudflare.com/ajax/libs/font-awesome/5.11.2/css/all.min.css" integrity="sha256-+N4/V/SbAFiW1MPBCXnfnP9QSN3+Keu+NlB+0ev/YKQ=" crossorigin="anonymous" />
Then, before the closing </body> tag, add your scripts- notice we are adding jQuery and Popper (dependencies) as well.
<script src="https://cdnjs.cloudflare.com/ajax/libs/jquery/3.4.1/jquery.min.js" integrity="sha256-CSXorXvZcTkaix6Yvo6HppcZGetbYMGWSFlBw8HfCJo=" crossorigin="anonymous"></script>
    <script src="https://cdnjs.cloudflare.com/ajax/libs/popper.js/1.14.7/umd/popper.min.js" integrity="sha384-UO2eT0CpHqdSJQ6hJty5KVphtPhzWj9WO1clHTMGa3JDZwrnQq4sF86dIHNDz0W1" crossorigin="anonymous"></script>
    <script src="https://cdnjs.cloudflare.com/ajax/libs/twitter-bootstrap/4.4.1/js/bootstrap.min.js" integrity="sha256-WqU1JavFxSAMcLP2WIOI+GB2zWmShMI82mTpLDcqFUg=" crossorigin="anonymous"></script>
And that's it! Now you're ready to Bootstrap/FontAwesome.
What is FontAwesome and how do I use it?
FontAwesome is a library that provides some 1500 icons free of charge for web developers out there to use in their projects.
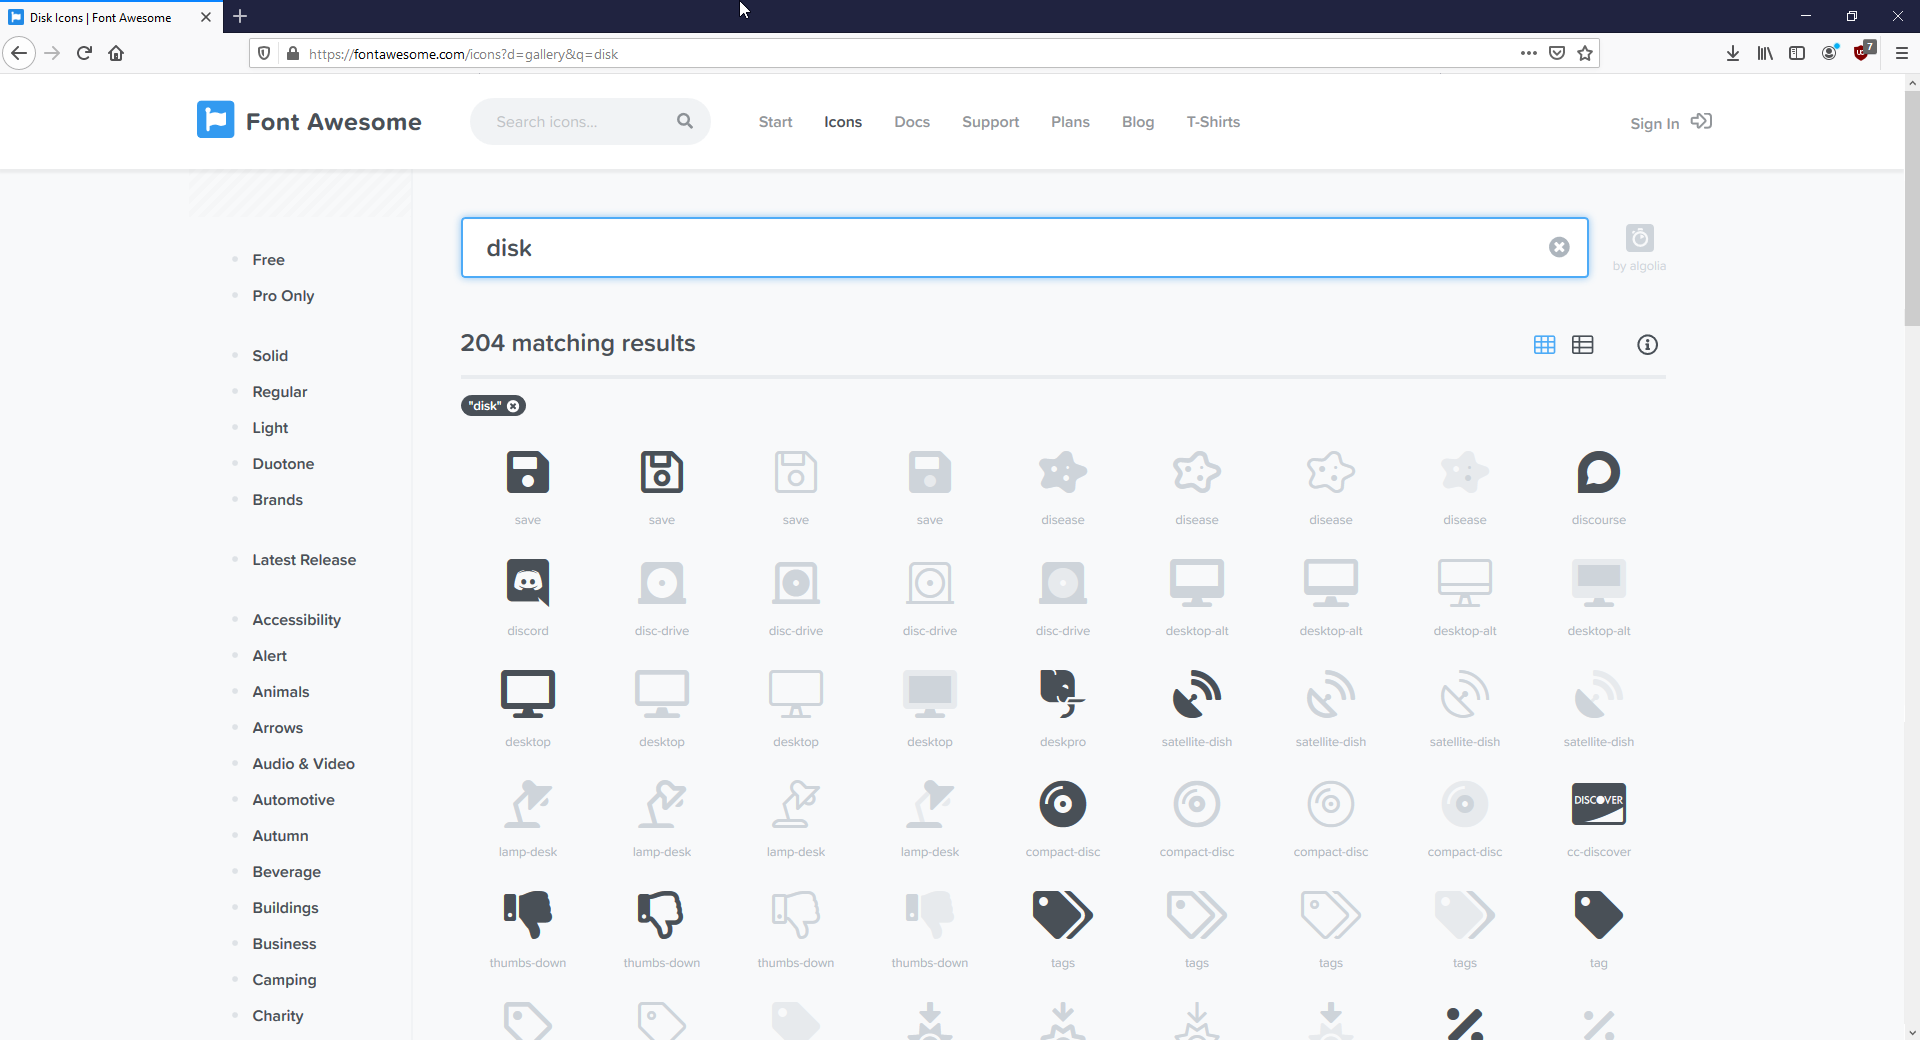
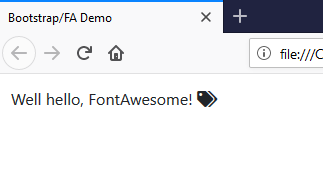
The easiest way to get started with FontAwesome is by using their website. You can search the icon library here and any of the icons that aren't faded out are free to use. In the example, let's say I decide I want to use the "tags" icon. To use it in my web app, I simply write this code:
<i class="fa fa-tags" aria-hidden="true"></i>So our project now looks like this:

While we're here. Let's talk Bootstrap for a moment. In my code, you can see that I wrote in a custom style of "margin: 12px;" for my enclosing <div> element to avoid having it look like this:
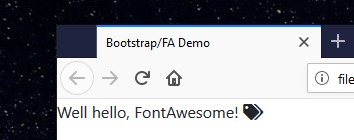
But what if there was a better way? With Bootstrap, instead of defining a manual style - which may not look the same on all devices, we can use a set of predefined classes to describe to the Bootstrap framework how we want our layout to work. I can do this using the following HTML:
<div class="mx-2 my-2">
    Well hello, FontAwesome! <i class="fa fa-tags" aria-hidden="true"></i>
    </div>
So what's happening here? We're leveraging Bootstrap's spacing tools, which are abbreviated for us. In this case, there are two: "mx-2", which means Margins on the X axis (left/right sides) and Y axis (top/bottom sides) both set to 2. I could manipulate this from 0 to 5 to increase or decrease the margin as required. You can also select specific margins like "ml-3" (for Margin Left, 3) and so on. To manipulate padding, swap the M with a P - as in "px-2".
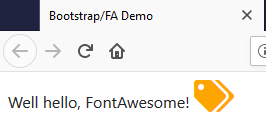
To go back to FontAwesome for a moment -- one thing that's really neat about these icons is that they respond to changes via CSS. So you can easily change your icon to be whatever color (or size) you need. This is where the "font" part of FontAwesome comes in. If I change my tag icon as follows:
<i class="fa fa-tags" style='color: orange;font-size: 32px;' aria-hidden="true"></i>You can see that the result is a much larger, orange icon that still looks great!
More on BootStrap
Alright, so let's dive a little bit deeper into BootStrap. Let's try out the NavBar control for our page. I'm using the example directly from Bootstrap's site here and plopping it into the HTML. Here's my code:
<nav class="navbar navbar-expand-lg navbar-light bg-light">
        <a class="navbar-brand" href="#">Fancy Report</a>
        <button class="navbar-toggler" type="button" data-toggle="collapse" data-target="#navbarSupportedContent" aria-controls="navbarSupportedContent" aria-expanded="false" aria-label="Toggle navigation">
          <span class="navbar-toggler-icon"></span>
        </button>

        <div class="collapse navbar-collapse" id="navbarSupportedContent">
          <ul class="navbar-nav mr-auto">
            <li class="nav-item active">
              <a class="nav-link" href="#"><i class="fa fa-home" aria-hidden="true"></i> Home <span class="sr-only">(current)</span></a>
            </li>
            <li class="nav-item dropdown">
              <a class="nav-link dropdown-toggle" href="#" id="navbarDropdown" role="button" data-toggle="dropdown" aria-haspopup="true" aria-expanded="false">
                Dropdown
              </a>
              <div class="dropdown-menu" aria-labelledby="navbarDropdown">
                <a class="dropdown-item" href="#">Action</a>
                <a class="dropdown-item" href="#">Another action</a>
                <div class="dropdown-divider"></div>
                <a class="dropdown-item" href="#">Something else here</a>
              </div>
            </li>
          </ul>
          <form class="form-inline my-2 my-lg-0">
            <input class="form-control mr-sm-2" type="search" placeholder="Search" aria-label="Search">
            <button class="btn btn-outline-primary my-2 my-sm-0" type="submit">Search</button>
          </form>
        </div>
      </nav>
    <div class="mx-2 my-2">
    Well hello, FontAwesome! <i class="fa fa-tags" style='color: orange;font-size: 32px;' aria-hidden="true"></i>
    </div>
And result:
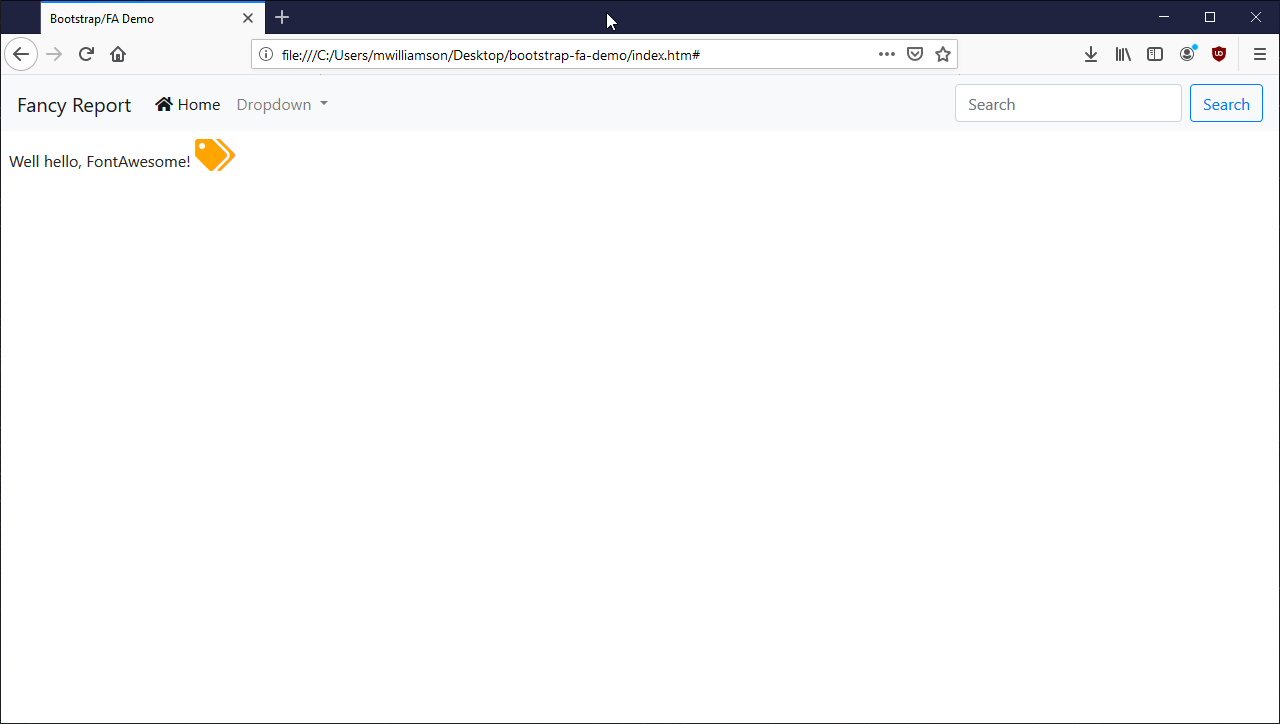
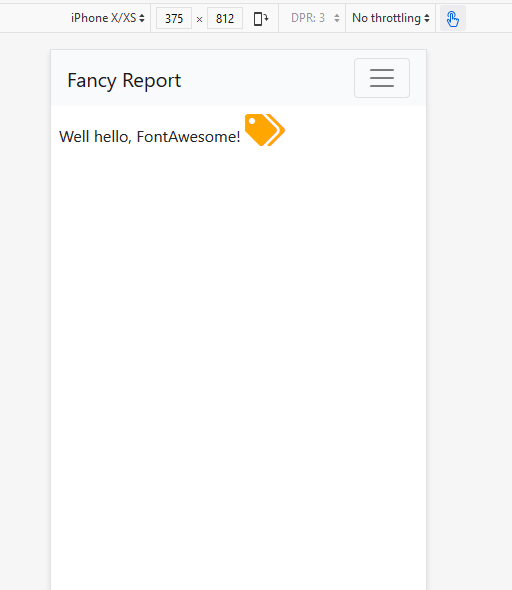
Looking pretty good right? I wanted to also point out this NavBar is 100% responsive out of the box, so it'll look good on Desktop and Mobile with little to no effort from you.
One of my favourite things to do when drafting an idea for a report is to look at some UI examples made with your framework of choice. Bootstrap has these examples or alternatively you can just peruse their excellent component library docs.
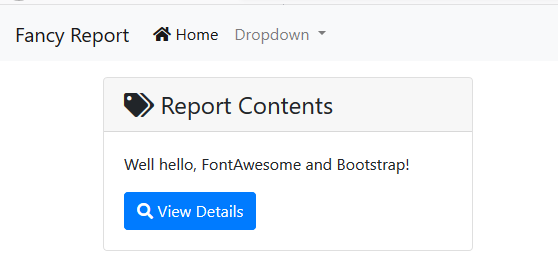
This final example I'm going to show includes a few different components: cards with headers, buttons, and more from FontAwesome.
<div class="container">
          <div class="row">
              <div class="col-md-5">
                <div class="card mt-3">
                <div class="card-header h4">
                    <i class="fa fa-tags" aria-hidden="true"></i> Report Contents
                </div>
                <div class="card-body">
                <p class="card-text">Well hello, FontAwesome and Bootstrap! </p>
                <a href="#" class="btn btn-primary"><i class="fa fa-search" aria-hidden="true"></i> View Details</a>
                </div>
              </div>
            </div>
        </div>
    </div>
And result:
For more reading, I highly recommend looking through the online Bootstrap docs further to see many awesome examples of whats possible.